The StayLinked WS50 modernized terminal emulation (TE) picking demo app illustrates how a TE “green screen” application can be adapted to run on the WS50. The app is converted to a highly useable, graphically enabled interface without any changes to the original application and without any coding or scripting.
In the tutorials below, we'll show you step-by-step how to set up, configure, and navigate through the Zebra WS50 demo application using StayLinked SmartTE in a simulated Warehouse Management System (WMS).
WATCH THE SETUP VIDEO: In this video, we'll show you how to install the StayLinked software onto the Zebra WS50.
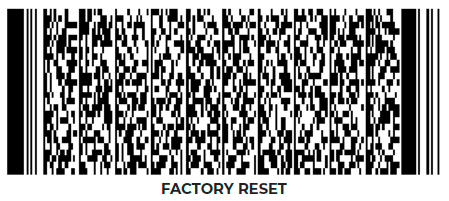
Step 1: Factory Reset (recommended)
Step 2: Set up your Wi-Fi network manually
Step 3: Install the StayLinked Software
BARCODE 1
BARCODE 2
BARCODE 3
Step 4: Launch SmartTE and connect to Host.
NOTE: If you are experiencing issues with the setup, a factory reset is recommended.
WATCH THE PICKING VIDEO: Take a walkthrough of the SmartTE Picking demo app for the Zebra WS50 and follow along with the instructions below.
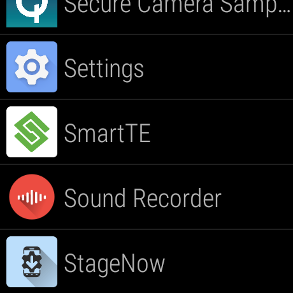
Step 1: Find the SmartTE app and tap to start.
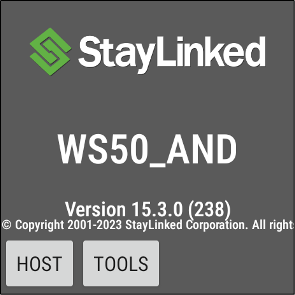
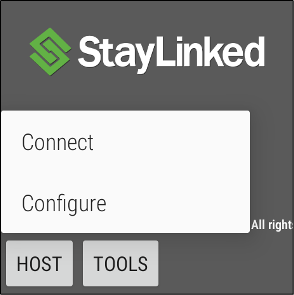
Step 2: In the SmartTE app, Press ‘HOST’ and then “Connect”.
Step 3: The connection is complete when you see “Select a Host”. Now press ‘Start New Session’ for the WS50 picking application.
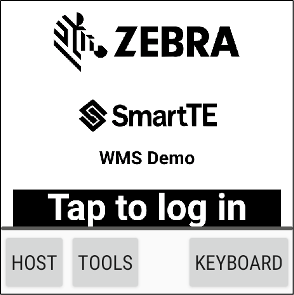
Step 4: Press “Tap to log in”.
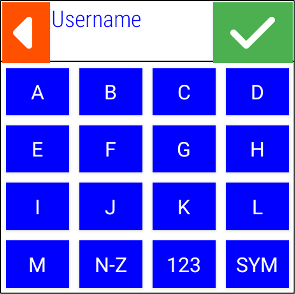
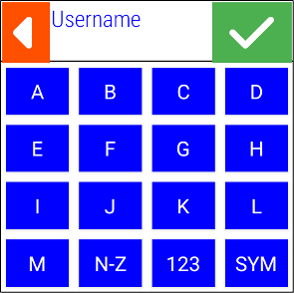
Step 5: Enter any user name you wish and press the green check to submit.
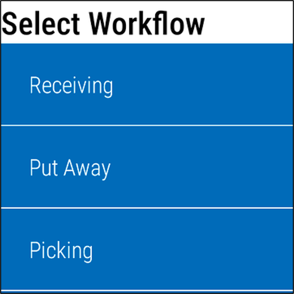
Step 6: You will see a “SmartMenu”. This allows you to scroll through a list of options easily on a small touch screen. For this example, choose “Picking”.
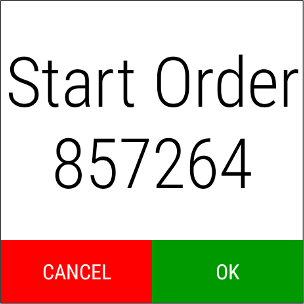
Step 7: Tapping “OK”, “SCAN ITEM”, or scanning the corresponding barcodes provided will advance you through different screens in the “Picking” workflow.
Step 8: Once you've completed the picking list, you will return to the beginning of the workflow.
Step 9: Now you can select 'Continue' to restart the Picking application, or 'Cancel' to return to the SmartMenu.
WATCH THE SCAN TEST VIDEO: Take a walkthrough of the SmartTE Scan Test demo app for the Zebra WS50 and follow along with the instructions below.
Step 1: Find the SmartTE app and tap to start.
Step 2: In the SmartTE app, Press ‘HOST’ and then “Connect”.
Step 3: The connection is complete when you see “Tap to Log in”. Now press ‘Tap to log in’.
Step 4: Enter any user name you wish and press the green check to submit.
Step 5: You will see a “SmartMenu”. This allows you to scroll through a list of options easily on a small touch screen. For this example, scroll down and choose “Scan Test”.
Step 6: Follow the on-screen instructions and using the corresponding barcodes provided you will advance through different screens in the “Scan Test” workflow.
Step 7: Once you've completed the Scan Test, you will see your results (example below).
Step 8: Now you can select 'Continue' to restart the Scan Test, or 'Cancel' to return to the SmartMenu.
Technology and innovation (feature videos if available). Proven technology partner. Offers great support and guidance. Previous successes and platform credibility. StayLinked expertise and integrity.
©2024 StayLinked Corporation Terms of Use Privacy Policy